Toubleshooting Let’sEncrypt Certificate on Centos7

Hello,

There are a lot of articles already available online to solve this issue. One that helped me much was:
https://www.digitalocean.com/community/tutorials/how-to-secure-apache-with-let-s-encrypt-on-centos-7#step-3-checking-your-certificate-status

I just want to log how I troubleshoot the errors that I faced in following above.

  1. When we test the website using openssl , we get:

    # openssl s_client -connect domain.com:443

    depth=3 O = Digital Signature Trust Co., CN = DST Root CA X3
    verify error:num=10:certificate has expired
    notAfter=Sep 30 14:01:15 2021 GMT
    ….

    This issues is due to the expired root certificate as my server was prettly old. So you need to remove this expired certificate. Following article helped:

    https://docs.ukfast.co.uk/docs/operatingsystems/linux/ssl/remove_cacert/

    Backup the trust store:
    cp -i /etc/pki/tls/certs/ca-bundle.crt ~/ca-bundle.crt-backup

    Identify the CA certificate
    trust list

    Add certificate to blacklist directory
    trust dump –filter “pkcs11:id=%c4%a7%b1%a4%7b%2c%71%fa%db%e1%4b%90%75%ff%c4%15%60%85%89%10” | openssl x509 | tee /etc/pki/ca-trust/source/blacklist/DST-Root-CA-X3.pem

    Update the system trust store
    update-ca-trust extract

  2. Next make sure your server ports are open for 443

    Online Port Tester: https://www.yougetsignal.com/tools/open-ports/

    To enable port, if using firewalld:
    firewall-cmd –permanent –zone=public –add-port=443/tcp
    firewall-cmd –reload


Posted in Uncategorized. Leave a Comment »

Unleash the Power of Grid 4 PHP Framework

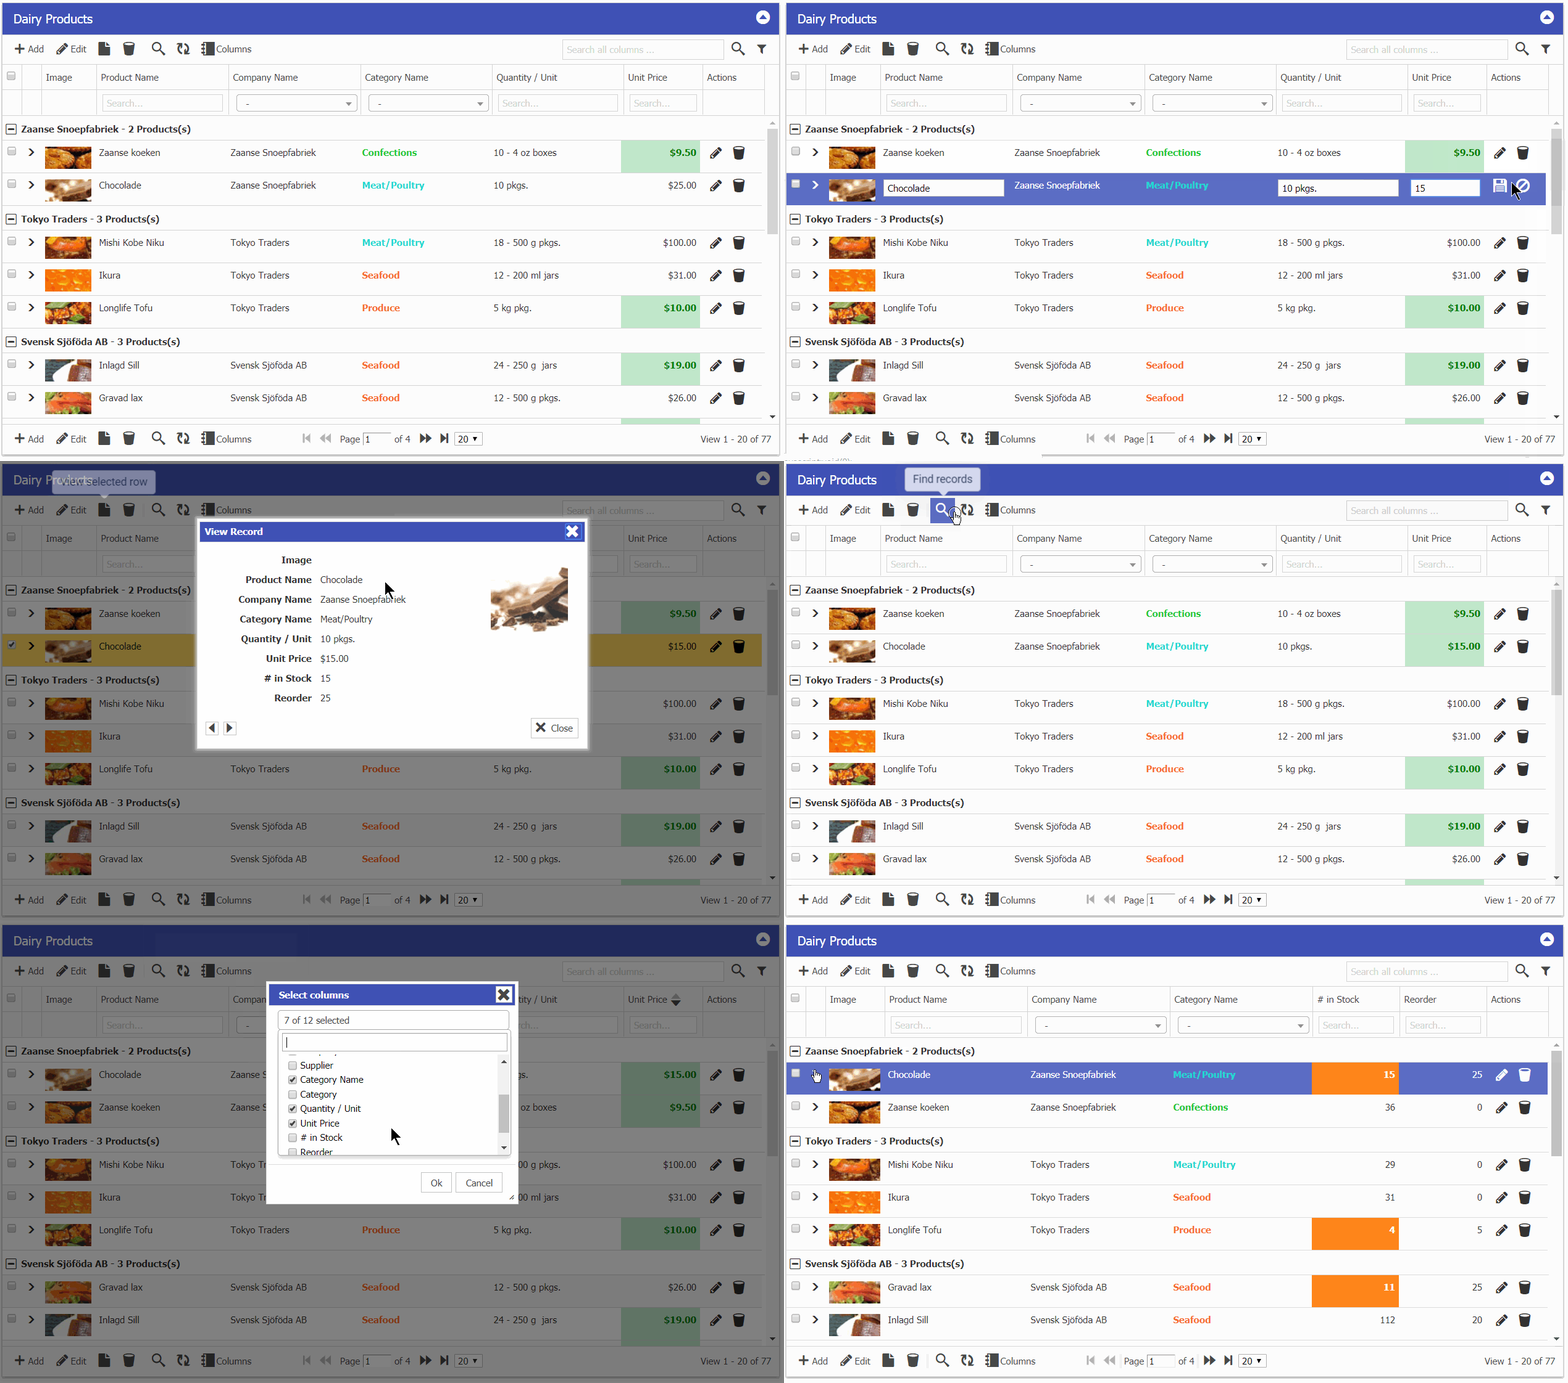
In the ever-evolving world of website development, having the right tools and frameworks is essential for creating exceptional user experiences. Enter GridPHP, a versatile PHP Datagrid CRUD (Create, Read, Update, Delete) library that seamlessly integrates into popular platforms like WordPress, Laravel, CodeIgniter, and more. With its comprehensive features and unmatched flexibility, GridPHP empowers developers to build powerful and dynamic web applications effortlessly.

Read more at: https://medium.com/@gridphp/unleash-the-power-of-gridphp-elevate-your-website-development-with-seamless-integration-7fe5713fde9d

Posted in Uncategorized. Leave a Comment »

Realtime notices using Long Polling / Comet – (Alternate to Websockets)

The way Facebook does this is pretty interesting.

A common method of doing such notifications is to poll a script on the server (using AJAX) on a given interval (perhaps every few seconds), to check if something has happened. However, this can be pretty network intensive, and you often make pointless requests, because nothing has happened.

The way Facebook does it is using the comet approach, rather than polling on an interval, as soon as one poll completes, it issues another one. However, each request to the script on the server has an extremely long timeout, and the server only responds to the request once something has happened. You can see this happening if you bring up Firebug’s Console tab while on Facebook, with requests to a script possibly taking minutes. It is quite ingenious really, since this method cuts down immediately on both the number of requests, and how often you have to send them. You effectively now have an event framework that allows the server to ‘fire’ events.

Behind this, in terms of the actual content returned from those polls, it’s a JSON response, with what appears to be a list of events, and info about them. It’s minified though, so is a bit hard to read.

….

https://github.com/panique/php-long-polling

How does facebook, gmail send the real time notification?

How does incoming mail notification on Gmail works?

https://www.quora.com/Why-does-Facebook-use-long-polling-instead-of-WebSocket-in-order-to-instant-chat

Posted in Uncategorized. Leave a Comment »

PHP Shared Memory (SHM) Caching

PHP caching: shm vs. apc vs. memcache vs. mysql vs. file cache (update: fill apc from cron)

Lessons learned:

  • shm/apc are 32-60 times faster than memcached or mysql
  • shm/apc are 2 times faster than php file cache with apc
  • php file cache with apc is 15-24 times faster than memcached or mysql
  • mysql is 2 times faster than memcached when storing more than 400 bytes
  • memcached is 2 times faster than mysql when storing less than 400 bytes
  • php file cache with apc is 2-3 times faster than normal file cache
  • php file cache without apc is 8 times slower than normal file cache

Tests were made with PHP 5.3.10, MySQL 5.5.29, memcached 1.4.13, 64bit, 3.4GHz (QEMU):

http://we-love-php.blogspot.com/2013/02/php-caching-shm-apc-memcache-mysql-file-cache.html

https://stackoverflow.com/questions/41598252/how-to-choose-shared-memory-id-shmop-simpleshm

https://www.ibm.com/developerworks/library/os-php-shared-memory/index.html

Posted in Uncategorized. Leave a Comment »

Q&A – Sacrificing parents’ happiness for love marriage

Nasihah (Advice):Choose Religion when searching for a Spouse

Sayyiduna Abu Huraira Radhiyallahu Anhu narrated that Rasulullah Sallallahu Alayhi wa Sallam said, A woman is married for four (reasons); her wealth, her family status, her beauty and her religion. So attain success by choosing a woman of piety….) (Bukhari)

Posted in Uncategorized. Leave a Comment »

Setting up Dovecot

This article will guide you through the installation and configuration steps for Dovecot on CentOS/RHEL 6.3

1) About

Dovecot provides a way for Mail User Agents (MUAs) like Thunderbird, Outlook etc to access their mail. So when a user’s MUA contacts the mail server, the software which answers that request is an IMAP or POP3 server. IMAP and POP3 servers take requests from MUAs and answer those requests by accessing e-mail messages stored on the server and feeding them out to the MUA using IMAP or POP3.
Dovecot presents mail already stored on the system to MUA’s (Thunderbird, Outlook etc) via a commanly used protocol such as IMAP and POP3. Dovecot is not responsible for mail delivery or storage.

There are two primary storage options of mail in the *NIX world: mbox and Maildir. mbox stores multiple messages – sometimes hundreds or thousands of messages – in a single file. Maildir stores each message a separate file. mbox and Maildir have wide support across various e-mail software including MTAs and MDAs, and are both fully supported by Dovecot.

2) Prerequisite
2.1) MTA setup should exists, please check my tutorial for installing Sendmail as an MTA.
2.2) Install the following dependent package:

 # yum install telnet mailx mutt

3) Installation
3.1) Check if dovecot is installed or not:

 # rpm –qa | grep dovecot

3.2) If it is not installed, then install the dovecot package using following command:

 # yum install dovecot

4) Configuration
4.1) By default dovecot configuration files are located at /etc/dovecot.
4.2) Open the dovecot config file /etc/dovecot/dovecot.conf. Find and uncomment/change the line as shown below.

 # vi /etc/dovecot/dovecot.conf From: #protocols = imap pop3 lmtp To: protocols = imap pop3

4.3) Open the dovecot config file /etc/dovecot/conf.d/10-mail.conf. Find and uncomment/change the line as shown below.

 # vi /etc/dovecot/conf.d/10-mail.conf From #mail_location = To mail_location = mbox:~/mail:INBOX=/var/mail/%u

4.4) Restart Dovecot Service:

 # service dovecot restart

4.6) Check the service is running and ports are opened, using following command:

 # ps -ef | grep -v grep | grep -i dovecot root 3349 1 0 14:36 ? 00:00:00 /usr/sbin/dovecot dovecot 3351 3349 0 14:36 ? 00:00:00 dovecot/anvil root 3352 3349 0 14:36 ? 00:00:00 dovecot/log root 3353 3349 0 14:36 ? 00:00:00 dovecot/ssl-params root 3354 3349 0 14:36 ? 00:00:00 dovecot/config # netstat -planet | grep -i dove tcp 0 0 0.0.0.0:110 0.0.0.0:* LISTEN 0 320865 3349/dovecot tcp 0 0 0.0.0.0:143 0.0.0.0:* LISTEN 0 320871 3349/dovecot tcp 0 0 0.0.0.0:993 0.0.0.0:* LISTEN 0 320873 3349/dovecot tcp 0 0 0.0.0.0:995 0.0.0.0:* LISTEN 0 320867 3349/dovecot

5) Validation and Testing
5.1) Create two test user for testing purpose (that will send and receive mail):

 # useradd testuser1 # useradd testuser2

5.2) Login as one of the user (say testuser1) and try to send mail using *mail* command:

 $ mail -s "Test mail from testuser1" testuser2 Hello this is the test mail . EOT

5.3) Once mail has been delivered successfully now we need to check if mail is delivered to user (testuser2) mailbox or not
Login as user testuser2 and use *mutt* command to check mail We would see something like the following output:

 $ mutt -f imap://testuser2:PASSWORD@localhost 1 Aug 19 root (0.5K) test mail 2 Aug 19 ganglia (0.3K) Sendmail Test 3 Aug 19 root (0.5K) Test mail2

6) Firewall Rule:

6.1) Firewall port that needs to be open for dovecot daemon machine:

 # iptables -A INPUT -p tcp -m tcp –dport 110 -j ACCEPT # iptables -A INPUT -p tcp -m tcp –dport 143 -j ACCEPT # iptables -A INPUT -p tcp -m tcp –dport 993 -j ACCEPT # iptables -A INPUT -p tcp -m tcp –dport 995 -j ACCEPT

6.2) Save the Iptables rules and restart it.

 service iptables save service iptables restart

​To autocreate special folder:

protocol imap {
mail_plugins = autocreate quota imap_quota
}
plugin {
autocreate = Trash
autocreate2 = Junk
autocreate3 = Drafts
autocreate4 = Sent
autosubscribe = Trash
autosubscribe2 = Junk
autosubscribe3 = Drafts
autosubscribe4 = Sent
}

Source1: https://sachinsharm.wordpress.com/2013/08/19/setting-up-dovecot-on-centosrhel-6-3/

Source2: https://www.digitalocean.com/community/questions/ubuntu-mail-server-postfix-dovecot-create-default-inbox-sent-and-trash-folder-per-account

Posted in Uncategorized. Leave a Comment »

Setting up Sendmail on CentOS/RHEL 6.3

This article will guide you through the installation and configuration steps for Sendmail on CentOS/RHEL 6.3

1) About

The Sendmail program is a very widely used Mail Transport Agent (MTA). MTAs send mail from one machine to another. Sendmail is not a client program, which you use to read your email. Sendmail is a behind-the-scenes program which actually moves your email over networks or the Internet to where you want it to go.

How Sendmail Works

Incoming Mail
Usually each user in your home has a regular Linux account on your mail server. Mail sent to each of these users (username@xyz.com) eventually arrives at your mail server and sendmail then processes it and deposits it in the mailbox file of the user’s Linux account. Mail isn’t actually sent directly to the user’s PC. Users retrieve their mail from the mail server using client software, such as Microsoft’s Outlook or Outlook Express, that supports either the POP or IMAP mail retrieval protocols.
Linux users logged into the mail server can read their mail directly using a text-based client, such as mail, or a GUI client, such as Evolution. Linux workstation users can use the same programs to access their mail remotely.

Outgoing Mail
The process is different when sending mail via the mail server. PC and Linux workstation users configure their e-mail software to make the mail server their outbound SMTP mail server.
If the mail is destined for a local user in the “xyz.com” domain, then sendmail places the message in that person’s mailbox so that they can retrieve it using one of the methods above.
If the mail is being sent to another domain, sendmail first uses DNS to get the MX record for the other domain. It then attempts to relay the mail to the appropriate destination mail server using the Simple Mail Transport Protocol (SMTP). One of the main advantages of mail relaying is that when a PC user A sends mail to user B on the Internet, the PC of user A can delegate the SMTP processing to the mail server.

2) Prerequisite
Most important tasks in setting up DNS for your domain (xyz.com) is to use the MX record in the configuration zone file to state the hostname of the server that will handle the mail for the domain.
Install the following dependent package:

 # yum install m4 telnet mailx

3) Installation
3.1) Check if sendmail is installed or not:

 # rpm –qa | grep sendmail

3.2) If it is not installed, then install the sendmail package using following command:

 # yum install sendmail sendmail-cf

4) Configuration
4.1) By default sendmail configuration files are located at /etc/mail.
4.2) By default sendmail listen on local interface i.e 127.0.0.1, check using this command:

 # ps -ef | grep -v grep | grep -i sendmail root 3595 1 0 00:20 ? 00:00:00 sendmail: accepting connections smmsp 3604 1 0 00:20 ? 00:00:00 sendmail: Queue runner@01:00:00 for /var/spool/clientmqueue # netstat -an | grep :25 | grep tcp tcp 0 0 127.0.0.1:25 0.0.0.0:* LISTEN

4.3) To configure the sendmail to listen to all interface at the host, just comment the following line in “sendmail.mc”:

 # vi /etc/mail/sendmail.mc From: DAEMON_OPTIONS(`Port=smtp,Addr=127.0.0.1, Name=MTA')dnl To dnl DAEMON_OPTIONS(`Port=smtp,Addr=127.0.0.1, Name=MTA')dnl

4.4) Now we need to build the “sendmail.cf” file using m4 macro:

 # m4 /etc/mail/sendmail.mc > /etc/mail/sendmail.cf

4.5) Restart Sendmail Service:

 # service sendmail restart

4.6) Check using this command:

 # netstat -an | grep :25 | grep tcp tcp 0 0 0.0.0.0:25 0.0.0.0:* LISTEN

4.7) Adding your domain entry in “/etc/mail/local-host-names” file:
Add all domains for which you will accept mail; there should be one domain per line.
For example, if this mail server was to accept mail for the domains “xyz.com”,”xyz.co.in

 # vi /etc/mail/local-host-names xyz.com xyz.co.in

4.8) Restart the service of sendmail and make a entry for it to start at boot time:

 # service sendmail restart # chkconfig sendmail on

5) Validation and Testing
5.1) Create two test user for testing purpose (that will send and receive mail):

 # useradd testuser1 # useradd testuser2

5.2) Login as one of the user (say testuser1) and try to send mail using mail command:

 $ mail -s "Test mail from testuser1" testuser2 Hello this is the test mail . EOT

5.3) Now we need to check the Maillog “/var/log/maillog” in case of any issue

 # tail /var/log/maillog Aug 19 01:07:58 server001 sendmail[4019]: r7IJalr6004019: from=testuser1@xyz.com, size=37, class=0, nrcpts=1, msgid=, proto=SMTP, daemon=MTA, relay=localhost [127.0.0.1] Aug 19 01:07:58 server001 sendmail[4022]: r7IJalr6004019: to=testuser2@xyz.com, ctladdr=testuser1@xyz.com (502/503), delay=00:00:39, xdelay=00:00:00, mailer=local, pri=30438, dsn=2.0.0, stat=Sent

5.4) Once mail has been delivered successfully now we need to check if mail is delivered to user (testuser2) mailbox or not
We would see something like the following output:

 $ mail N 1 testuser1@xyz.com Mon Aug 19 01:07 13/503 "Sendmail Test"

6) Firewall Rule:

6.1) Firewall port that needs to be open for sendmail daemon machine:

 # iptables -A INPUT -p tcp -m tcp ​--destination-port ​25 -j ACCEPT

6.2) Save the Iptables rules and restart it.

 service iptables save service iptables restart

Congratulation you have successfully setup MTA service using Sendmail, now is the time to configure Dovecot service to fetch mail using your favourite MUA (Mail User Agent) like MS Outlook, Thunderbird etc.

Source: https://sachinsharm.wordpress.com/2013/08/19/setting-up-sendmail-on-centosrhel-6-3/

Other Source that helped:

https://serverfault.com/questions/59602/where-to-check-log-of-sendmail
https://www.rosehosting.com/blog/install-and-configure-a-simple-mail-server-using-sendmail-and-dovecot-on-a-fedora-20-vps/


Setting Email Forwarder using Procmail

Edit: /var/etc/procmailrc & set bolded lines.

LOGFILE=/var/log/procmail.log
DEFAULT=$HOME/Maildir/
ORGMAIL=$HOME/Maildir/
DROPPRIVS=yes
:0c
* ^TO_support@test1\.com
! test1@gmail.com
:0c
* ^TO_support@test2\.com
! test@gmail.com
:0
$DEFAULT

Source: http://porkmail.org/era/procmail/mini-faq.html

To map Catch All

Edit and add: vim /etc/mail/virtusertable

@domain1.com user1
@domain2.com user2

After that all emails to *@domain1.com will be received in user1 mailbox.
More examples in virtusertalble file.

Posted in Uncategorized. Leave a Comment »

SQL Transpose of WordPress meta tables (key-value pairs)

Here is sample demo sql:

select * from (

SELECT m.user_id,
MAX(CASE WHEN m.meta_key = ‘first_name’ THEN m.meta_value ELSE NULL END) AS first_name,
MAX(CASE WHEN m.meta_key = ‘last_name’ THEN m.meta_value ELSE NULL END) AS last_name
FROM wp_usermeta m
GROUP BY m.user_id

) as s where first_name = ‘John’

Source: http://stackoverflow.com/questions/3392956/sql-how-to-transpose

Posted in Uncategorized. Leave a Comment »

Warid 4G LTE v/s PTCL Evo 3G

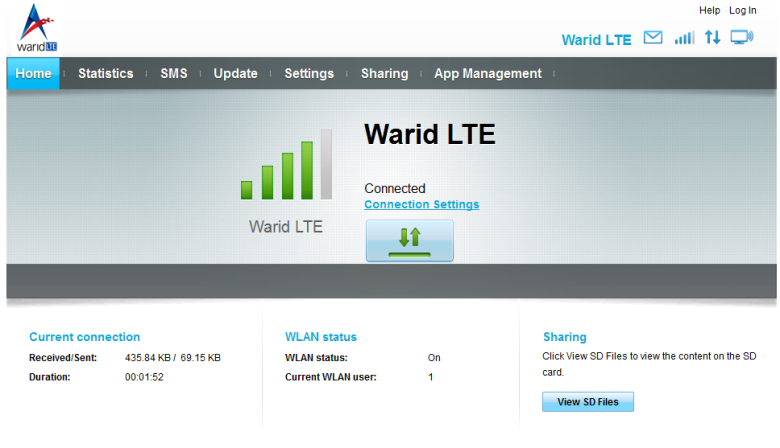
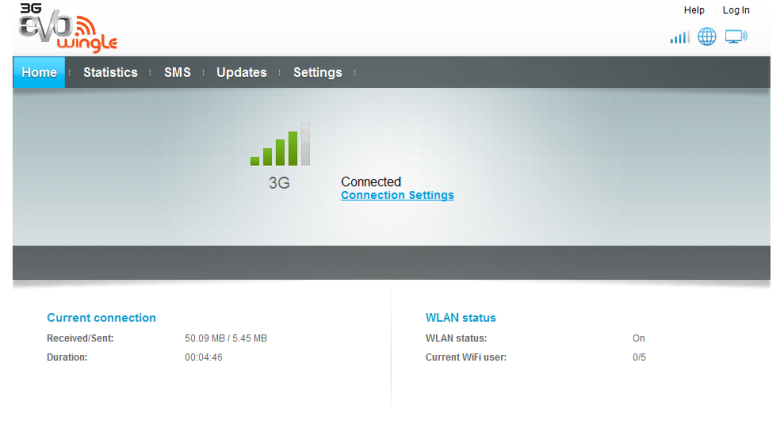
I found a chance to test both internet services using USB wingle devices. I first checked the signals and then tried http://speedtest.net on it. I made these tests in morning around 6.30am (Location: gulshan-e-iqbal, block 4, Date: 19th June 2015)

1) Warid 4G LTE
waridlte-1
waridlte-2
2) PTCL Evo 3G
evo3g-1evo3g-2
I hate to admit, but PTCL EVO 3G was far better than what 4G LTE is capable of. Perhaps Warid has limited the performance due to their SLAs. You can checkout this blog for better social media videos and more plays. The uploading speed of LTE is better but most of us are concerned on downloading speed.
Posted in Uncategorized. 2 Comments »

JQueryUI with Metro Theme

A search for Metro theme based on Jquer UI actually resulted in this post. JQUIT builder seems to be promising option but it’s now unmaintained and all builder links are removed. I further searched and found a much similar cusotmization of jQuery UI to match like Metro.

Here is the Jquery UI theme link after my little modification.

n8p9ntp

Screenshot: http://tinyurl.com/n8p9ntp
Download: Metro Light | Metro Dark

You can replace metro blue shade with other high/low contrast colors of windows 8 (purple, orange, green etc).

Here are the links for color set.
http://www.creepyed.com/2012/09/windows-8-colors-hex-code/
http://stackoverflow.com/questions/11578867/is-there-a-list-of-standard-tile-colors-for-metro-style-windows-8-apps

Have fun.

Posted in Uncategorized. Leave a Comment »